


Pitchers and Vases in Pottery

-
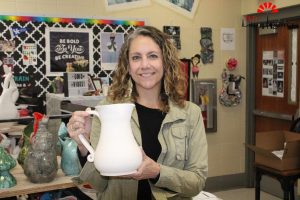
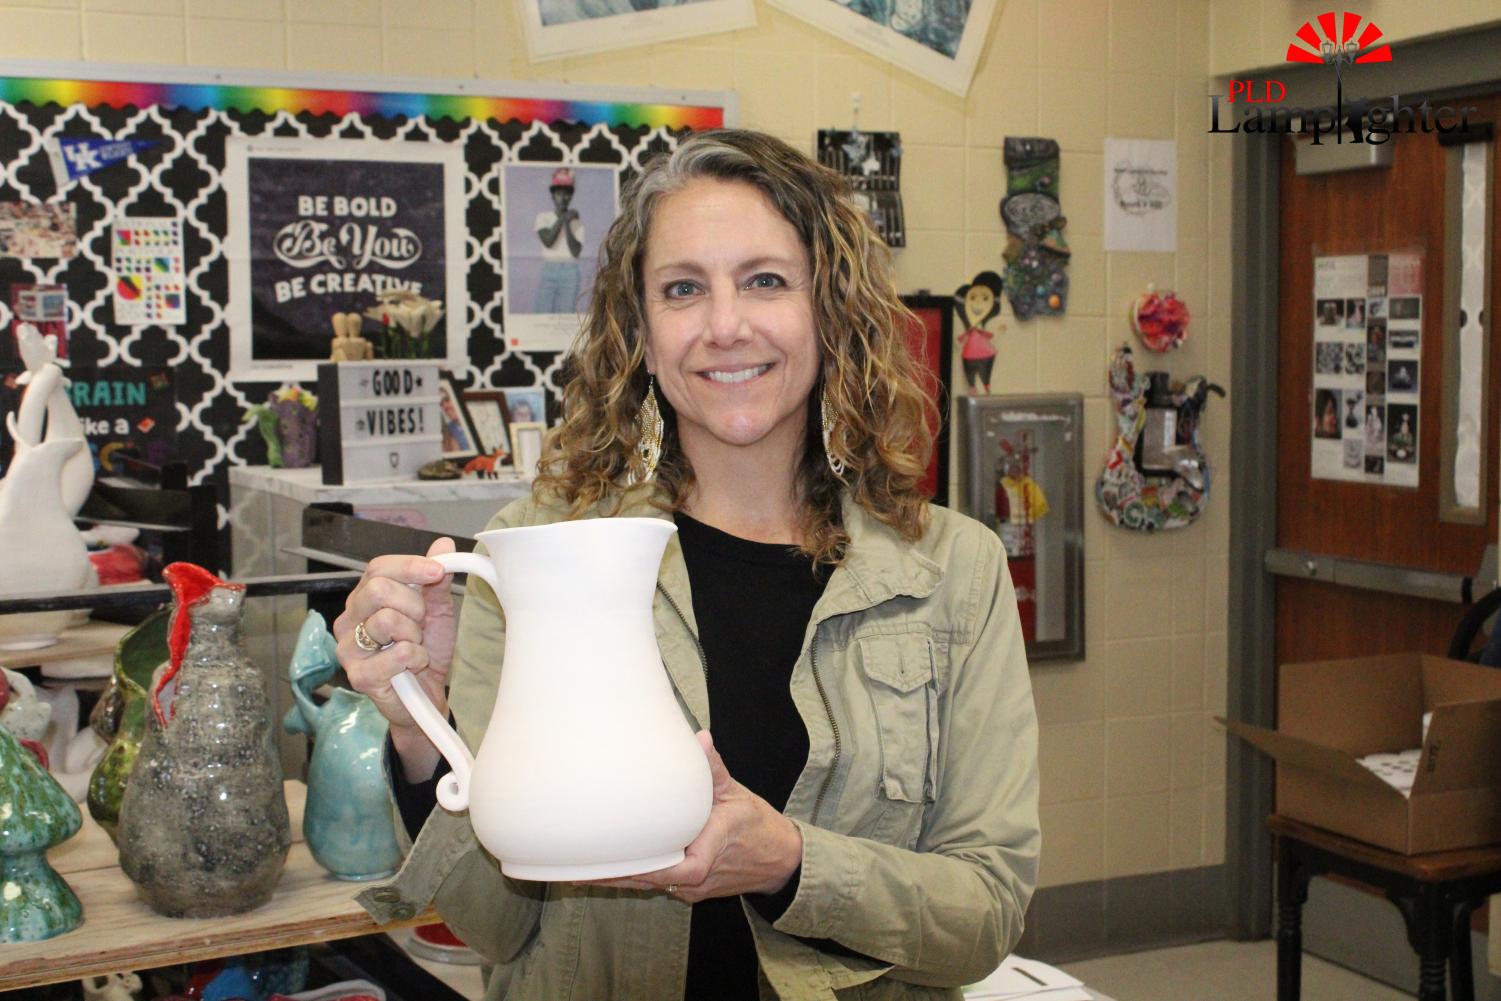
Ms. Eller holds up her finished design of the pitcher all the pottery classes are assigned to make. Her students use this pot as a reference for their sculpturing process.
-
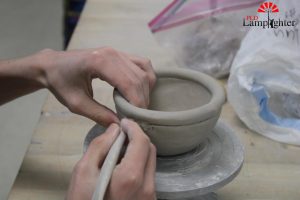
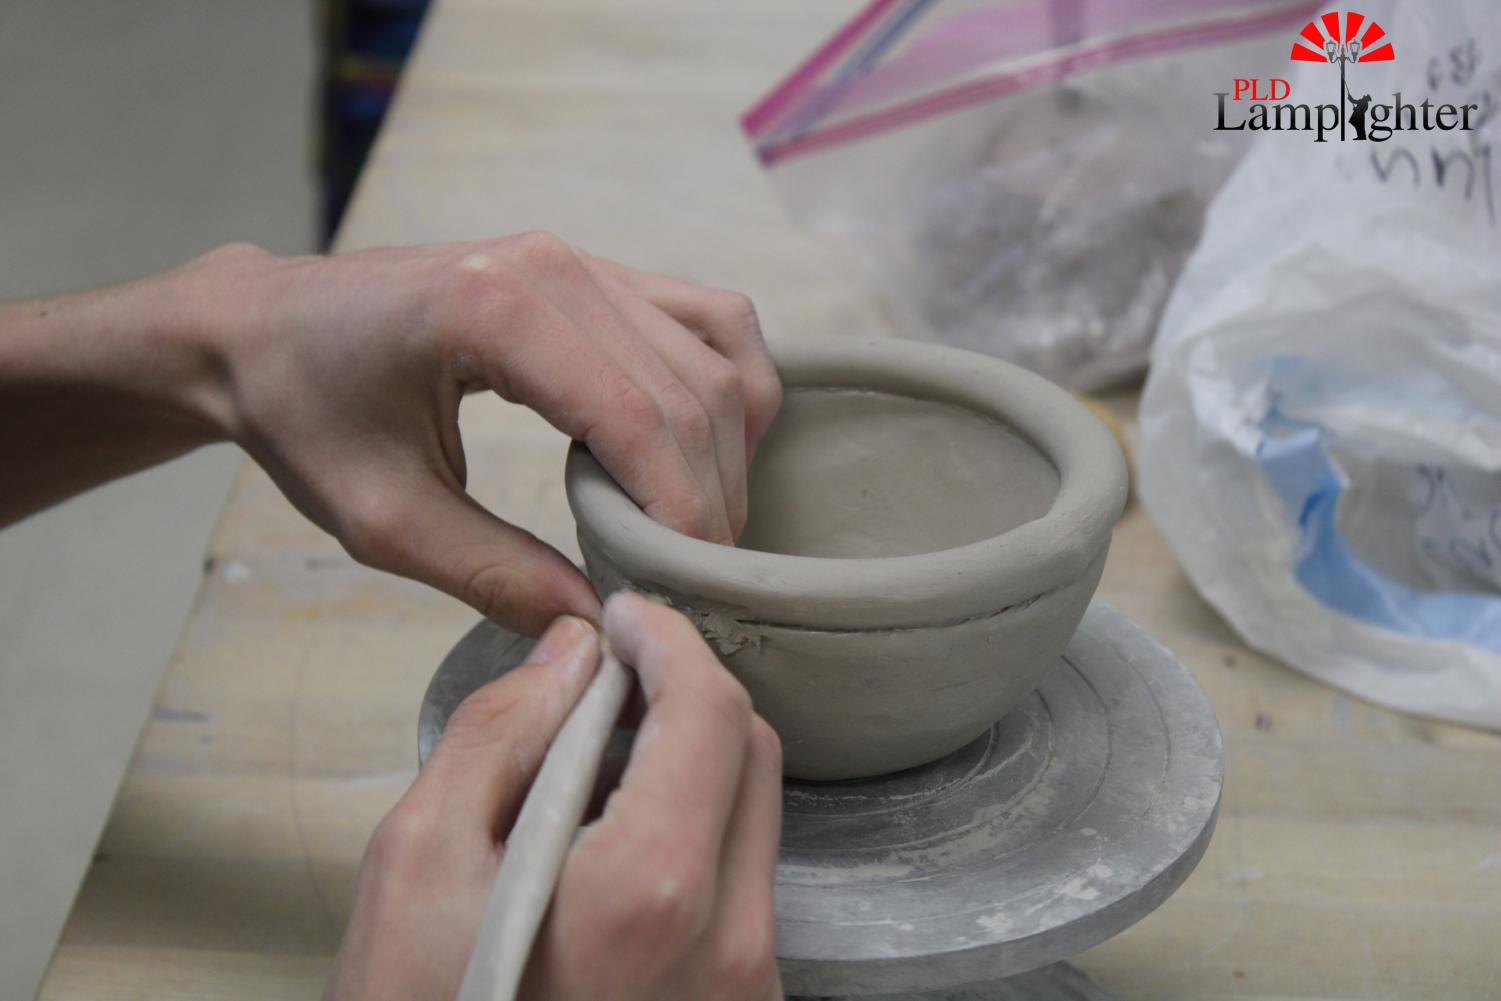
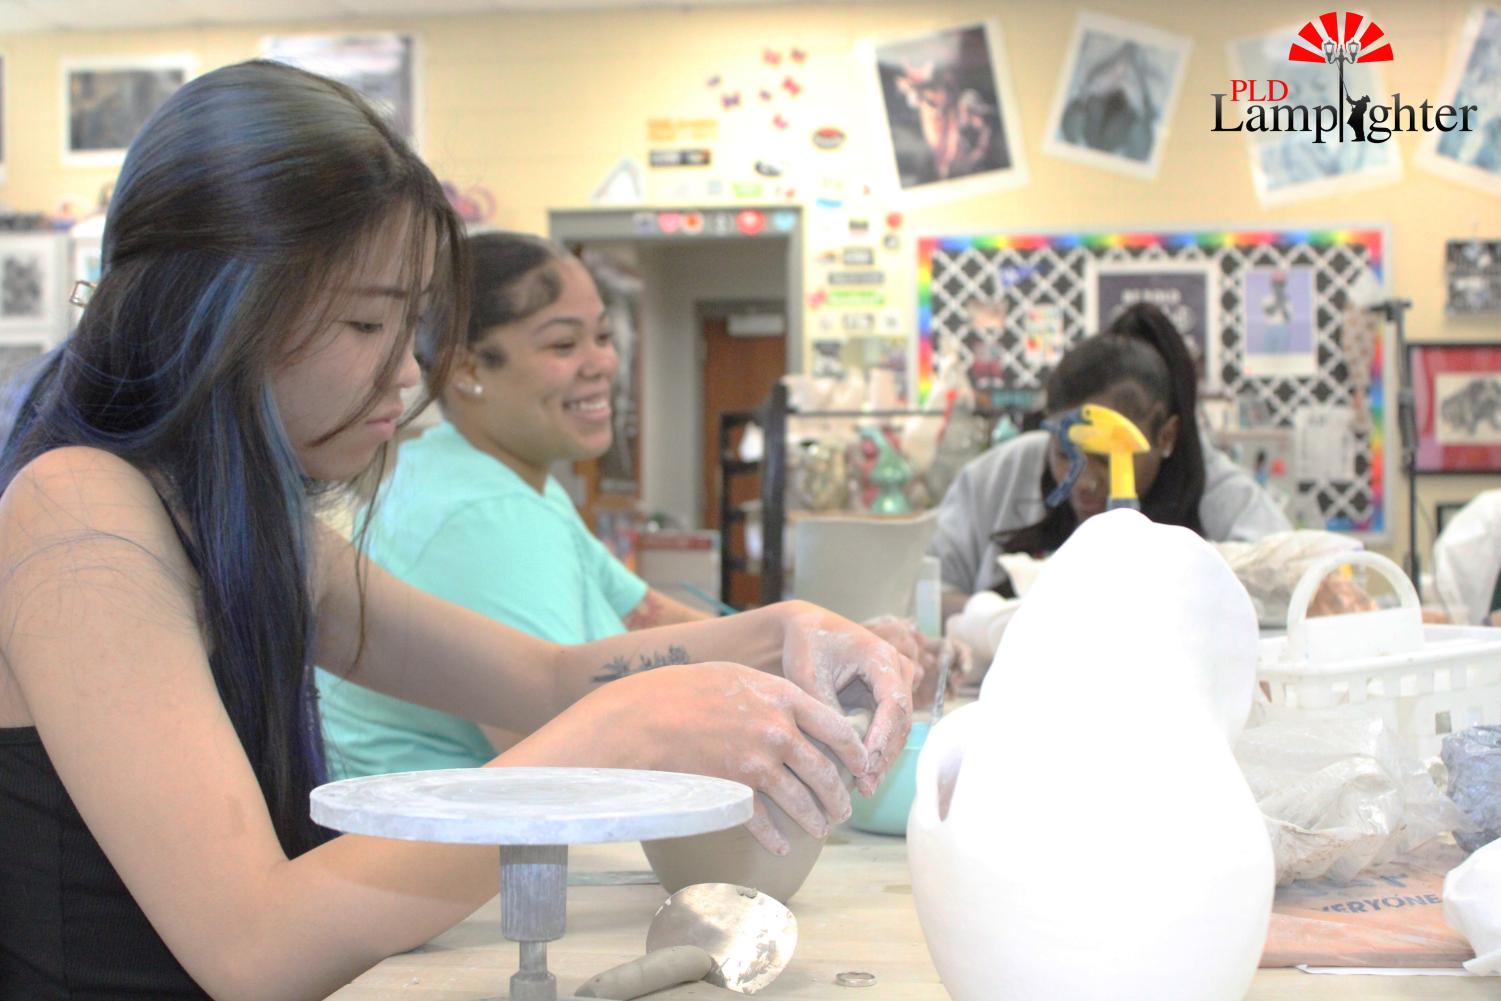
Here, a student is adding a ring of clay to the base of their bowl. One after another, the pitcher slowly builds up to hold 11 ounces of liquid.
-
The ring of clay has to be meshed together in order to leave no bumps for the finished product.

-
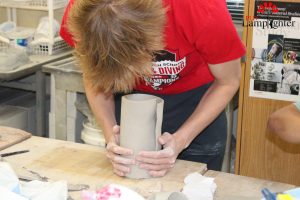
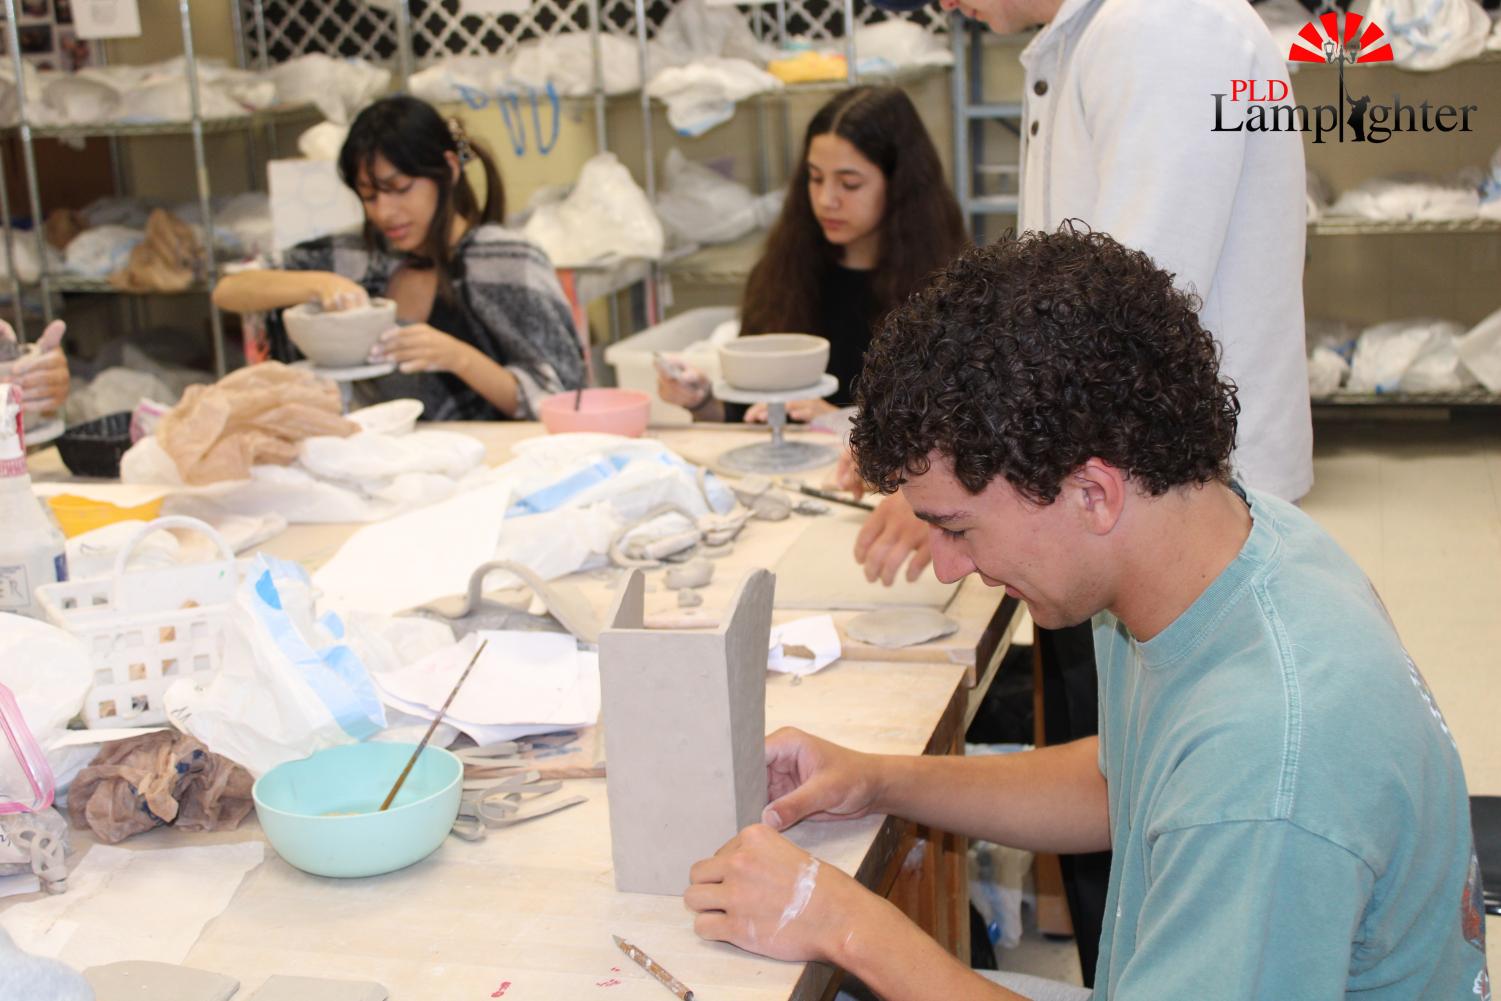
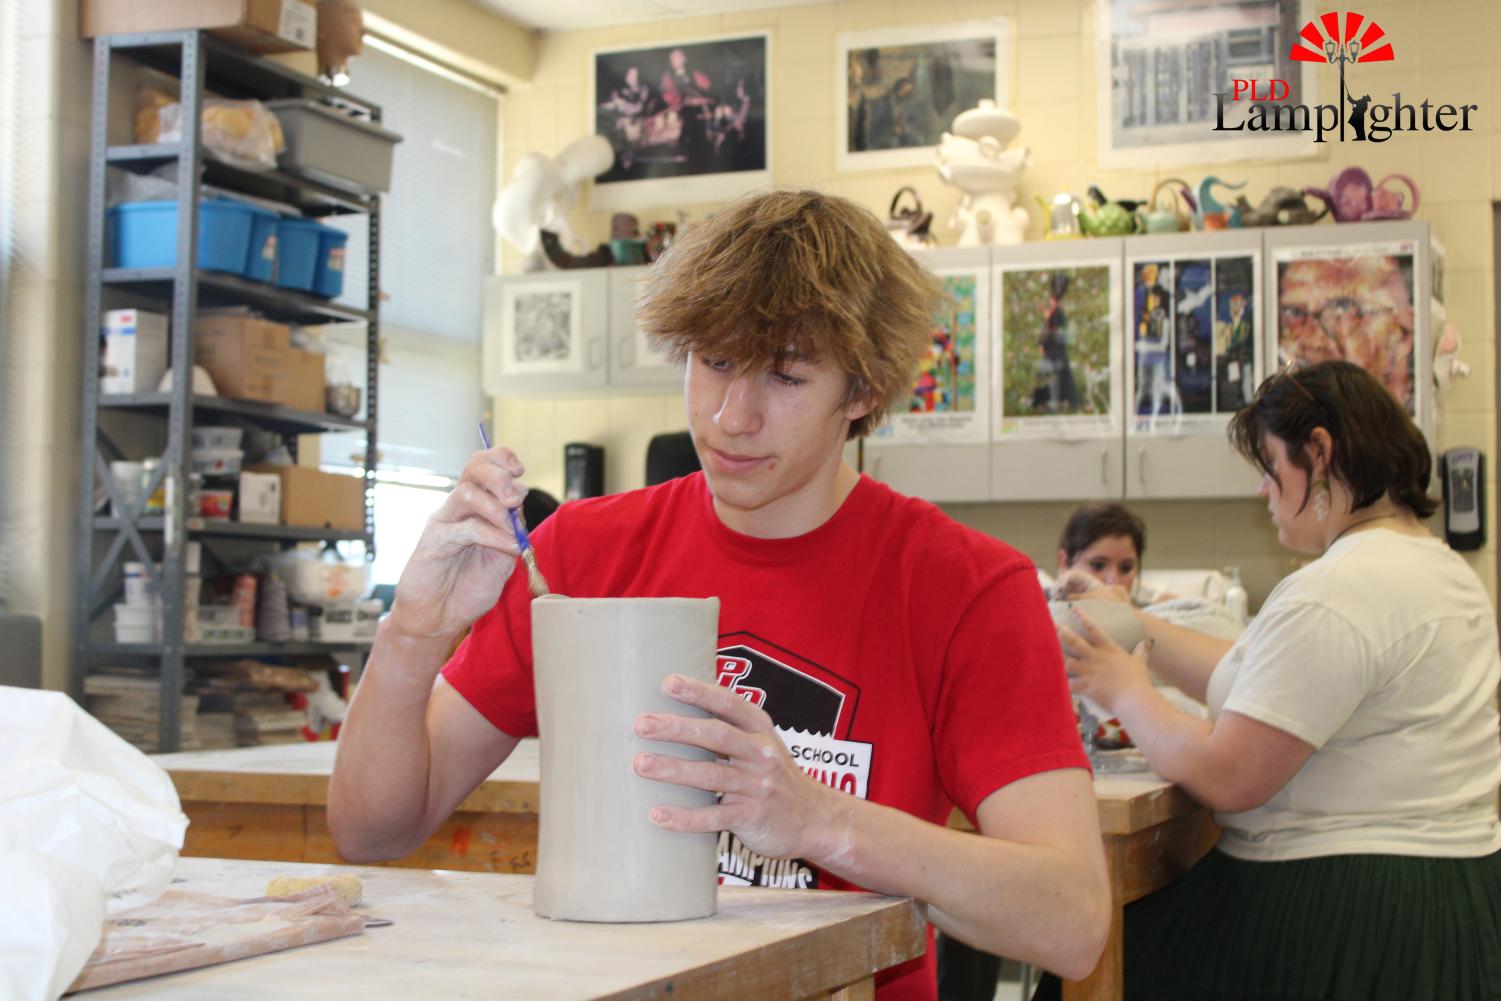
Other students choose a different route for building their pitcher. Here, the student created a slab that is shaped into a cylinder. The ring process is slow which is why many students choose to do this instead. It’s a more efficient way of making the pitcher.

-
Similar to the slab process shown before, this student is using multiple slabs to create more of a rectangular shape.
-
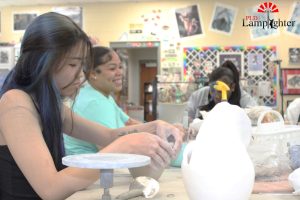
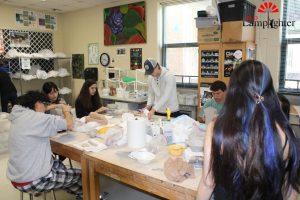
Students enjoy making this project because it’s a more hands on task that requires more focus and care than the other projects they’ve made.
-
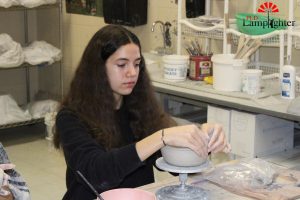
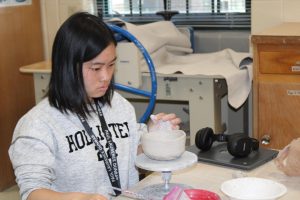
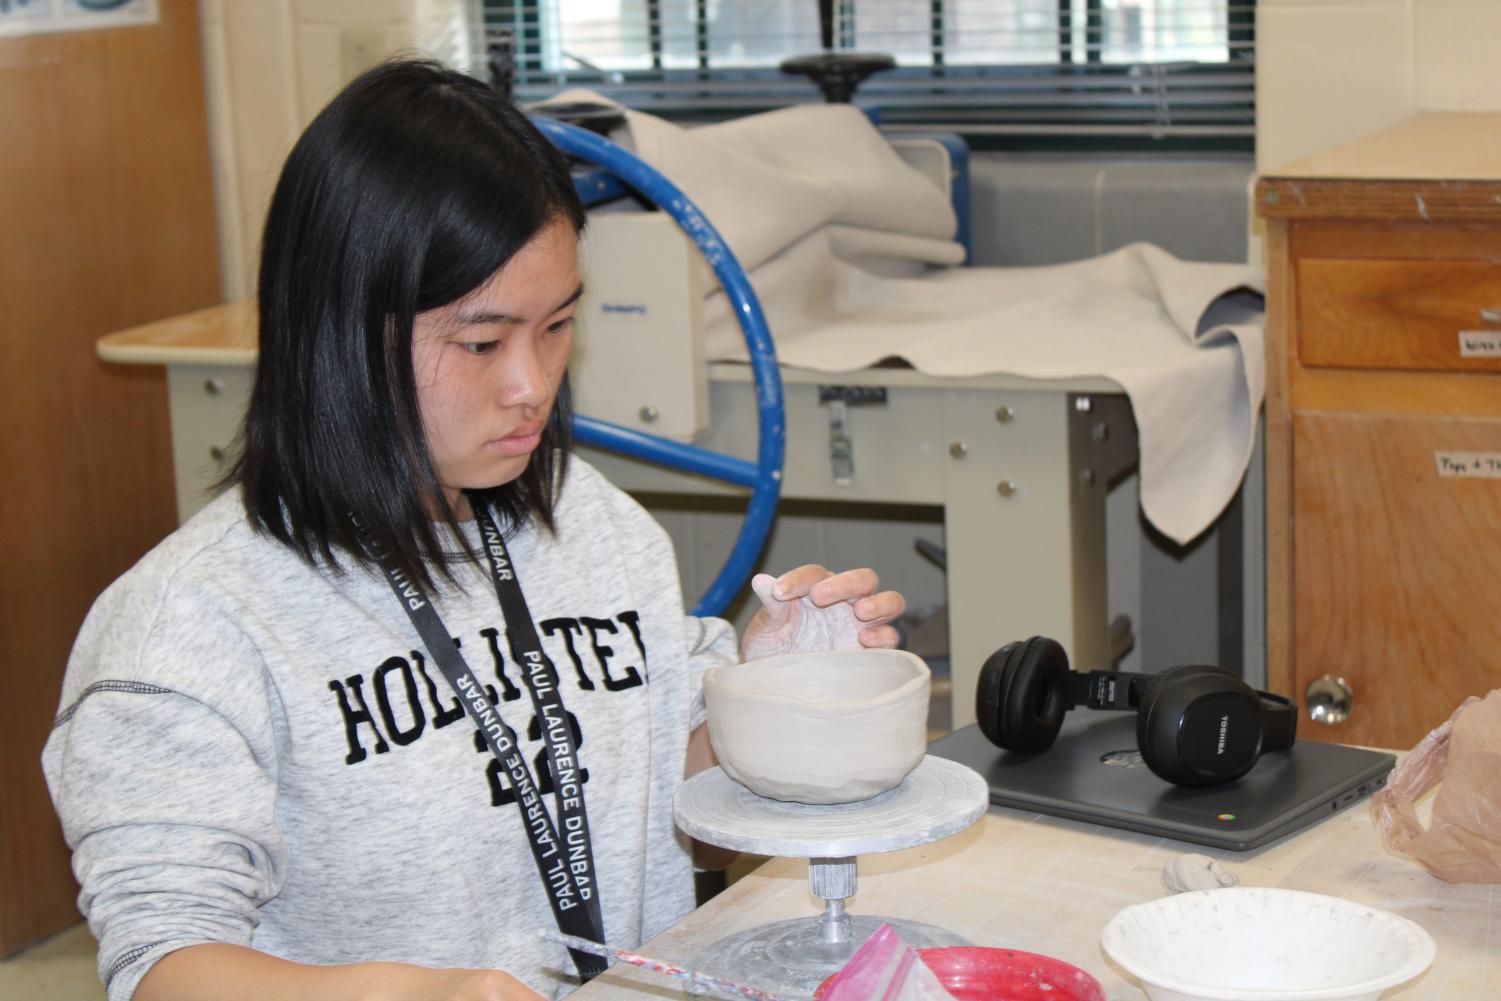
This student just started her project and is finishing the base of her pitcher.
-
The tables in the pottery classroom can get pretty messy. In order to safely store their projects, the students use a wooden pallet and plastic bags to contain the moisture in the clay.

-
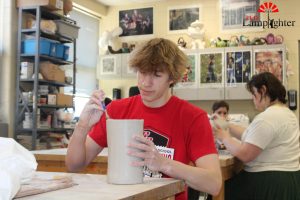
Once the slab is connected, the students must get rid of any sharp edges with a paintbrush so that they don’t cut themselves after it’s fired.
-
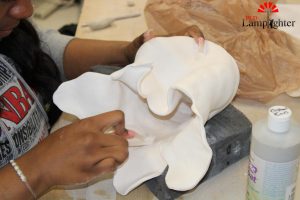
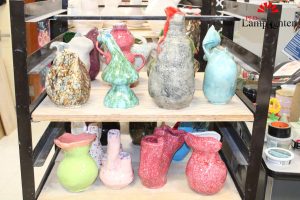
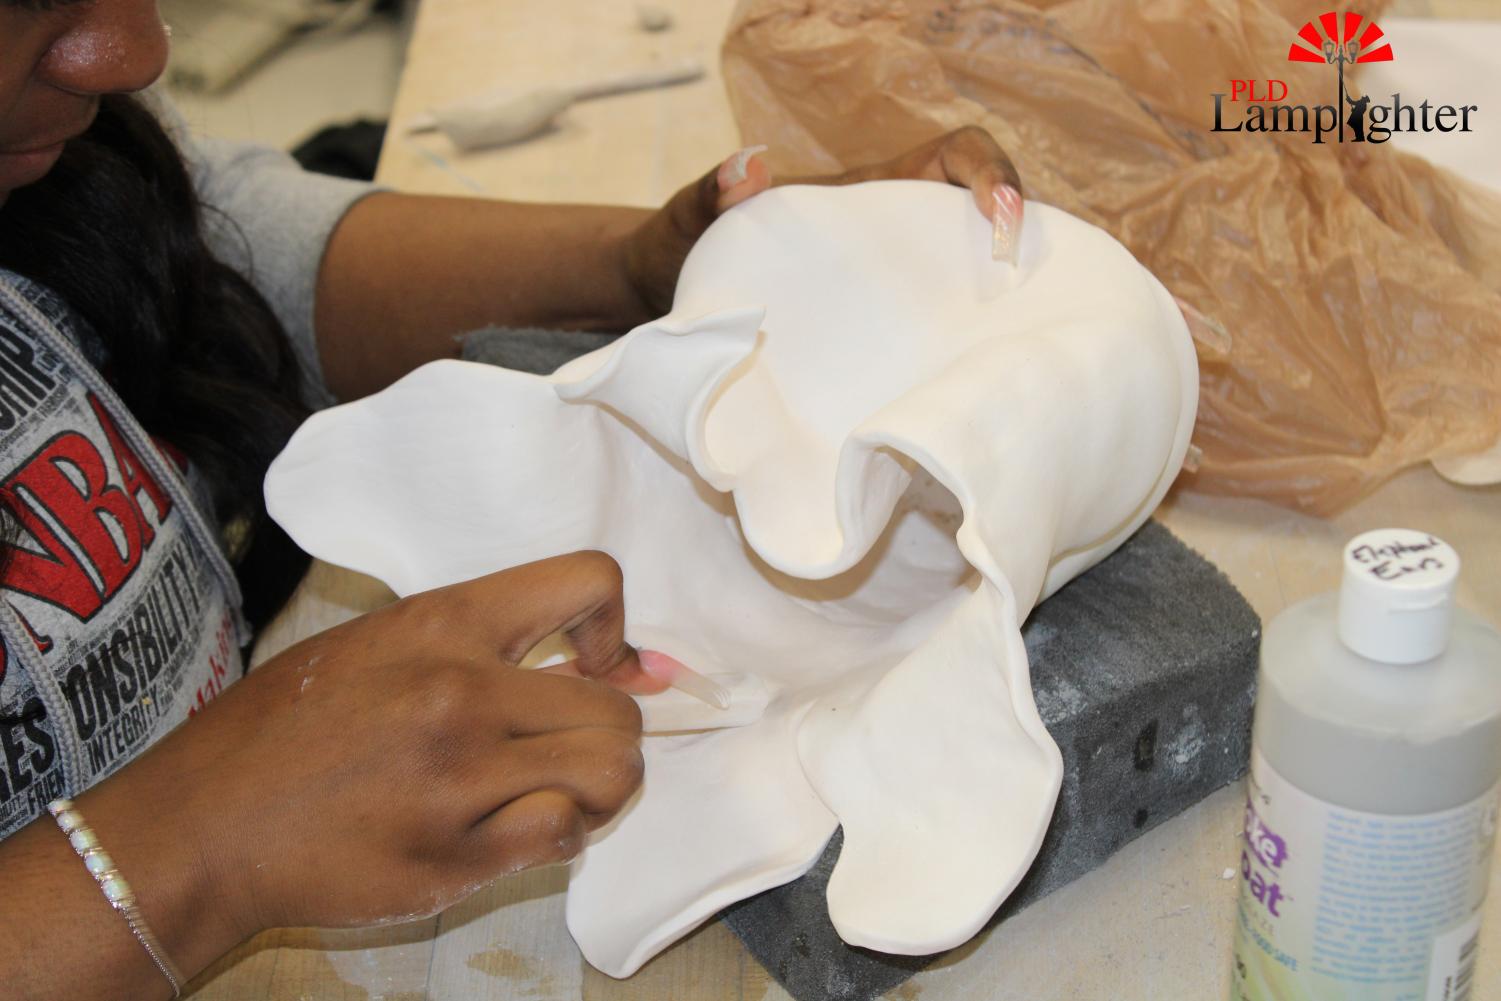
The previous project was similar in shape to the pitcher but was more abstract and creative. This vase is supposed to look softly ripped and extruding, bringing out the intended imperfections.
-
The vases here are the finished product of the last project. There are many different shapes and colors which makes every vase unique in its own way.

Hi, my name is Seneca Oddo and I'm going to be a junior in PLD Lamplighter. I joined PLD Lamplighter this year and I'm excited to be working with my fellow...

Hii, I'm Nora. I'm a junior and this is my third year on Lamplighter. I like hanging out with my friends and family, listening to music, and going to the...