


Holiday Arts and Crafts: Making Simple Plastic Canvas Ornaments
Plastic canvas ornaments adorable fixtures for the holidays, and they are simple to make. Great for amateur and experienced craftspeople, the ornaments can be quickly made and enjoyed in these few steps:
Gather your materials


You’ll need about three yards of yarn, separated into three one-yard strands; three one-and-one-half inch squares of seven-mesh plastic canvas, with ten squares on each side; a needle with a hole to fit size 20 yarn (be careful– needles are sharp); hot glue or another kind of craft glue; a small segment of ribbon or yarn to serve as the loop for the ornament; and two plastic eyes, in addition to any decorations you may want to add (such as ears, or the features of any animal you want to make– its left up to your imagination)
Understand how to make a stitch
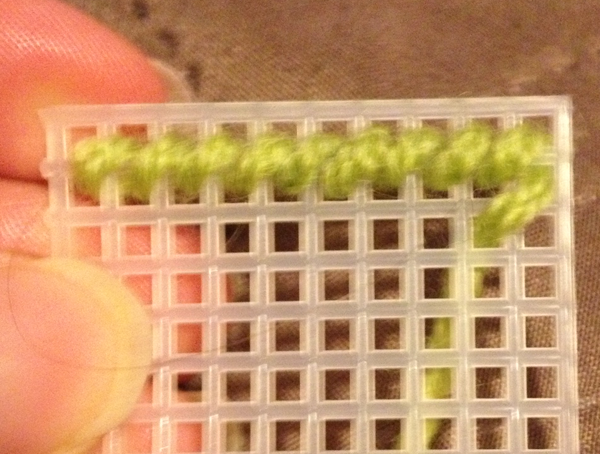
In plastic canvas, for the purposes of this activity, a stitch will start from the bottom of the canvas, looping over the top. The pattern will continue across two rows diagonally for the entirety of the square.
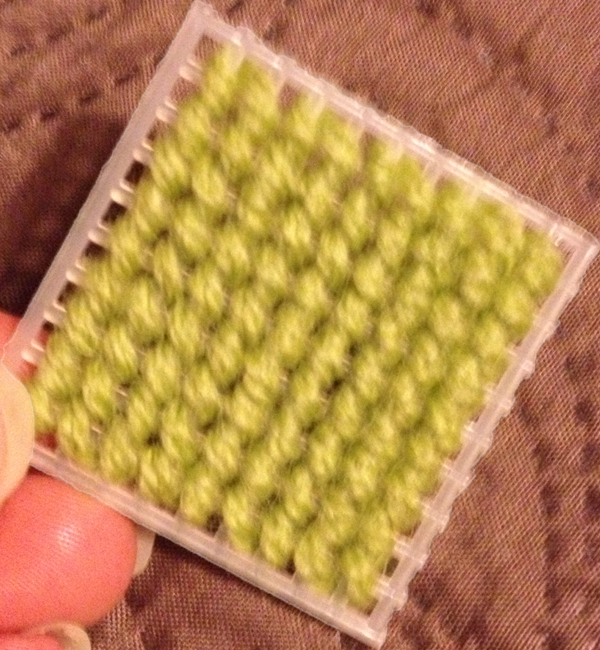
Stitch two plastic canvas squares
Thread one strand of yarn into the needle– do not knot the yarn. Skipping the square in the corner, begin along two rows and loop the needle diagonally across the two rows, always moving up one square and over one square with your needle before stitching.
Repeat this process for two additional squares.
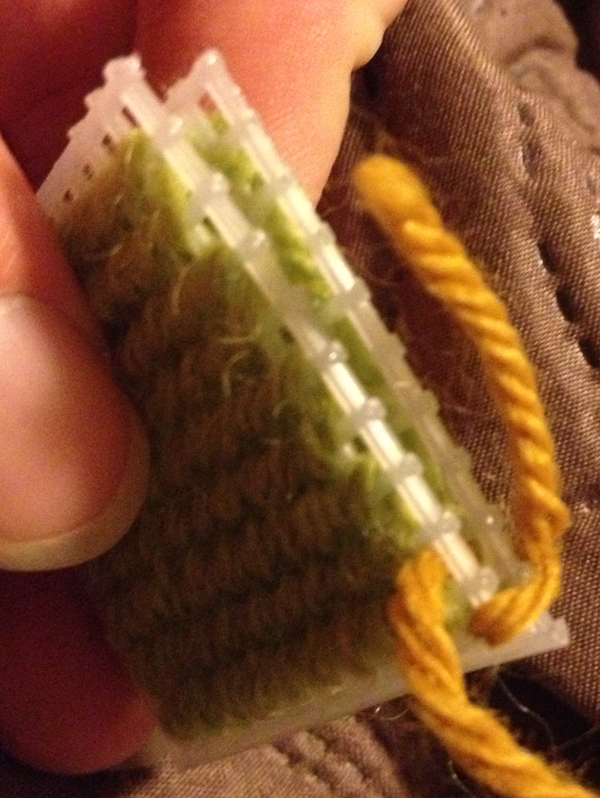
Stitch the three squares together
Stitch two squares along their perimeters, making single loops on the squares that aren’t in the corner, and making two loops on the corner squares– one on each side. Leave one corner and two sides unstitched on each square.
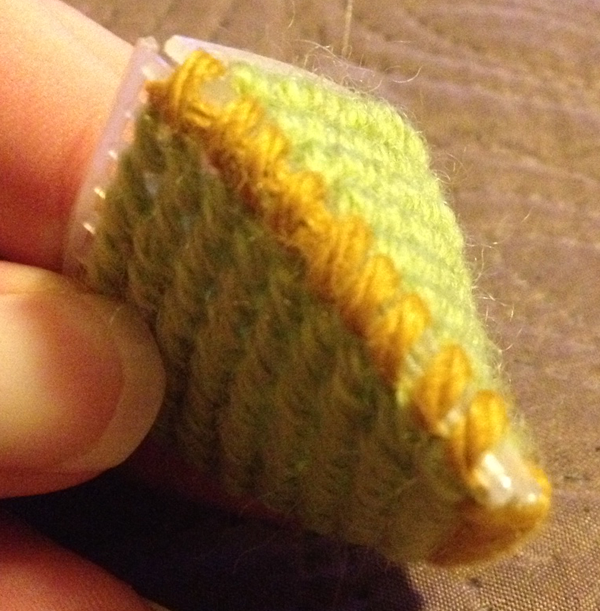
Take a final regular square and stitch it along the unstitched sides of the two squares. Leave two sides and a corner unstitched for the ‘mouth’.
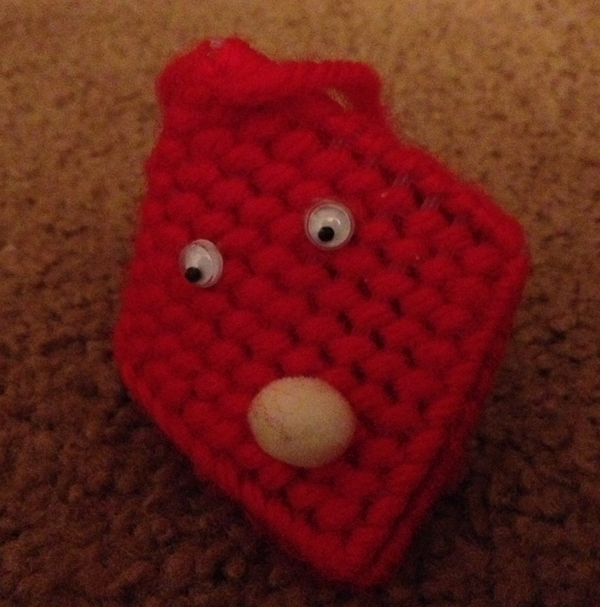
Stitch the ornament loop and glue the eyes
Make a loop with a piece of ribbon and stitch it on the top of the ornament. You can simply use the same up-down loop stitching style you did before, being sure to go through the squares along the edge of the canvases.
Glue the two plastic eyes on the face square canvas appropriately.
Decorate the ornament with extra materials as you see fit– you can make any number of creatures, from lions to sheep.
Put a Hershey’s Kiss TM inside
This is mostly tradition– but it can make the ornament all the more enjoyable!